1. Nyissa meg Microsoft e-mail fiókja bejelentkezési oldalát kedvenc böngészőjében a https://account.live.com címen. Ebben az útmutatóban a Google Chrome-ot használjuk.
Tipp: A demónkban láthatja, hogy szerepel a 1Password bővítmény, amely megjegyzi az e-mail címünket és az egyes fiókokhoz tartozó egyedi, összetett jelszót.
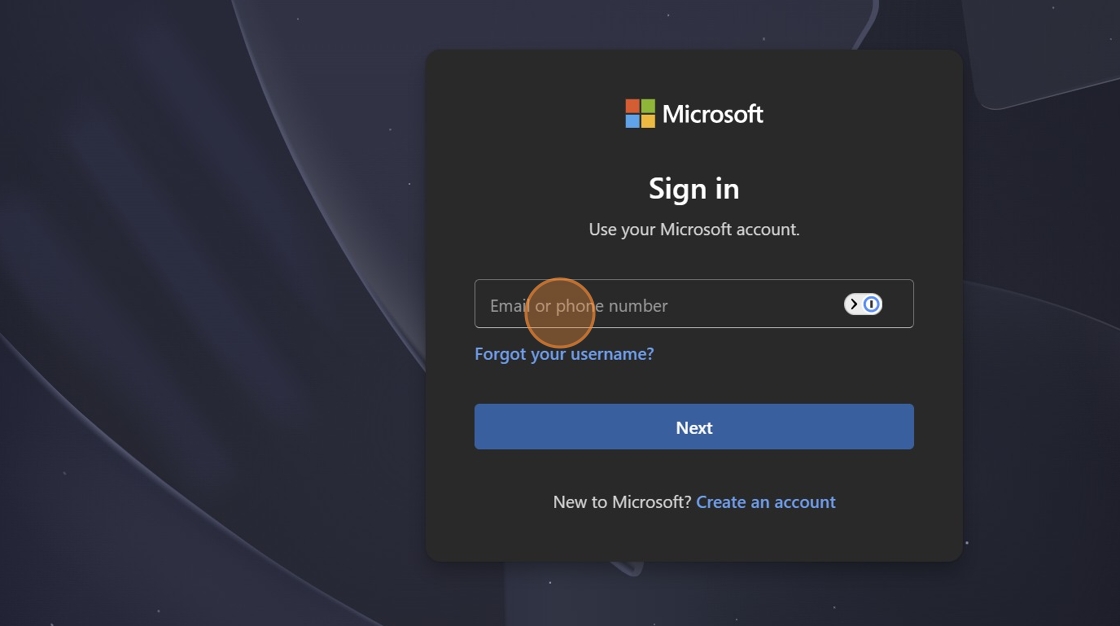
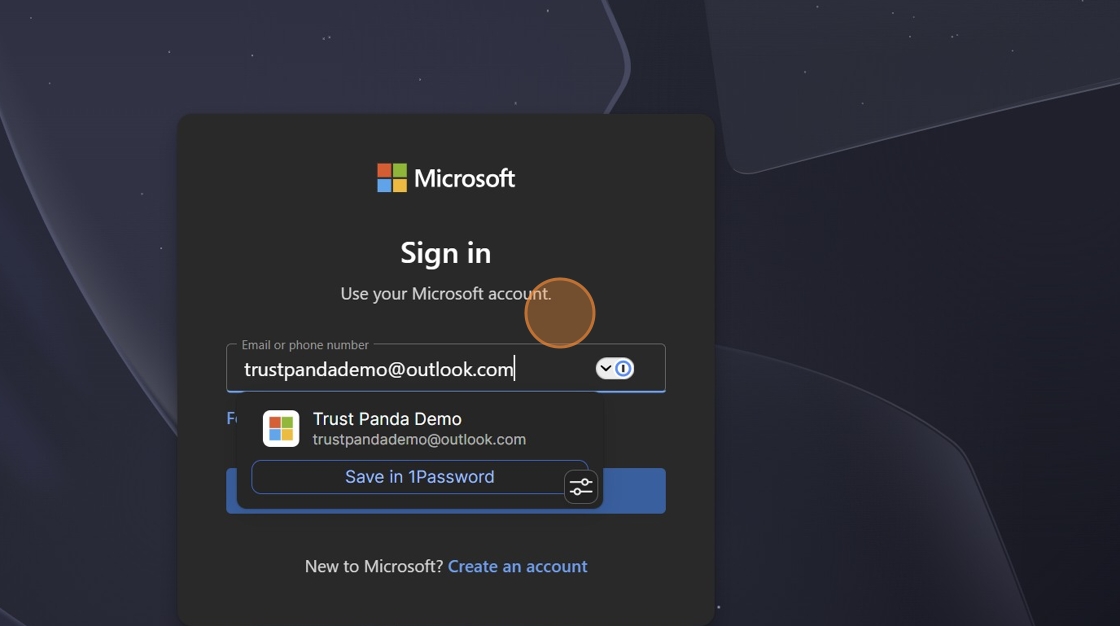
2. Add meg az e-mail címedet, majd kattints a „Tovább” gombra.
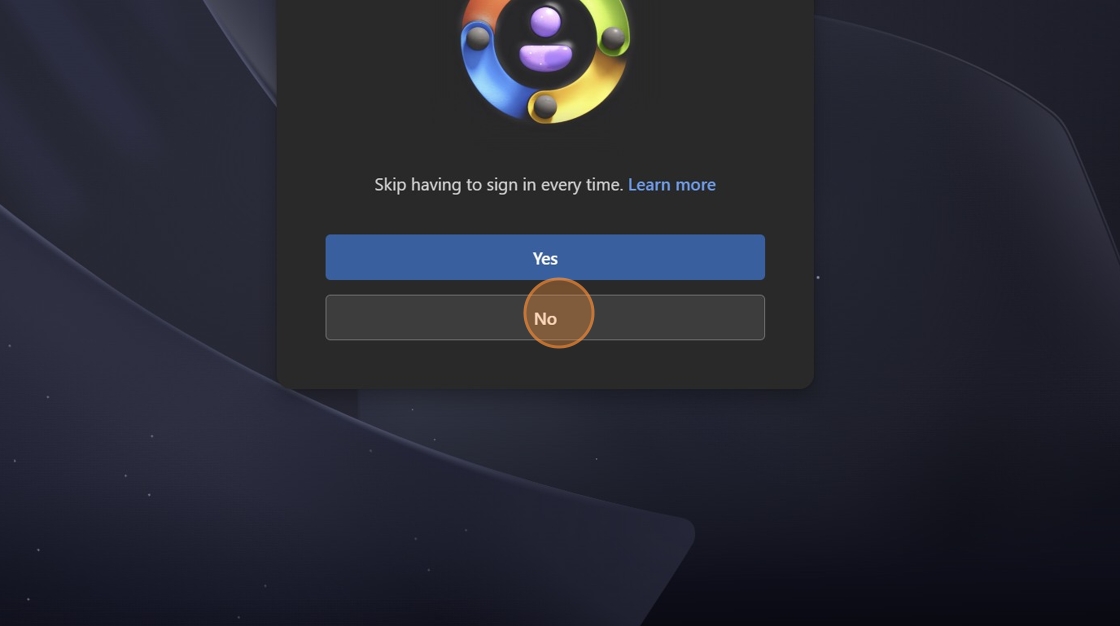
3. Ha most először használod ezt a fiókot az eszközödön, a Microsoft megkérdezi, hogy szeretnéd-e, hogy a rendszer megjegyezze a fiókodat. Megosztott számítógépen/eszközön a „nem” lehetőséget kell választanod.
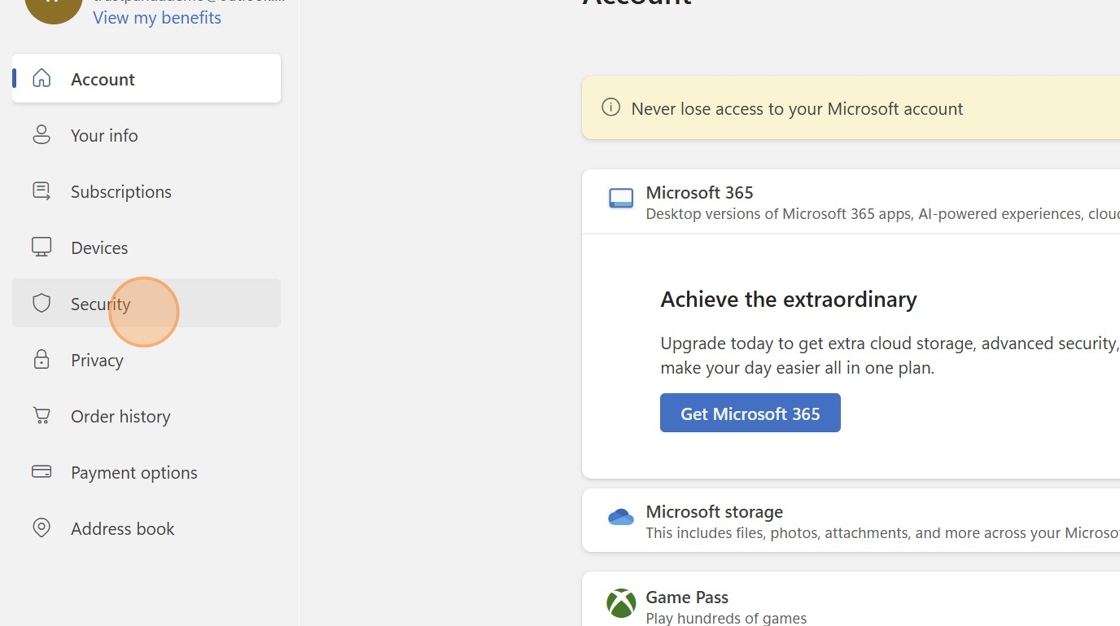
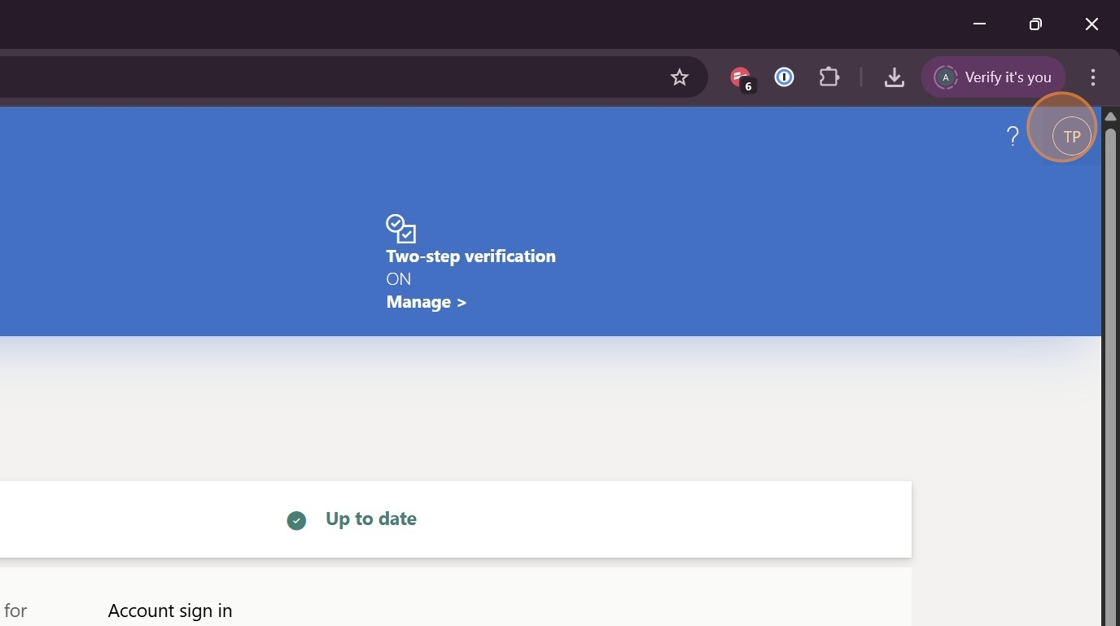
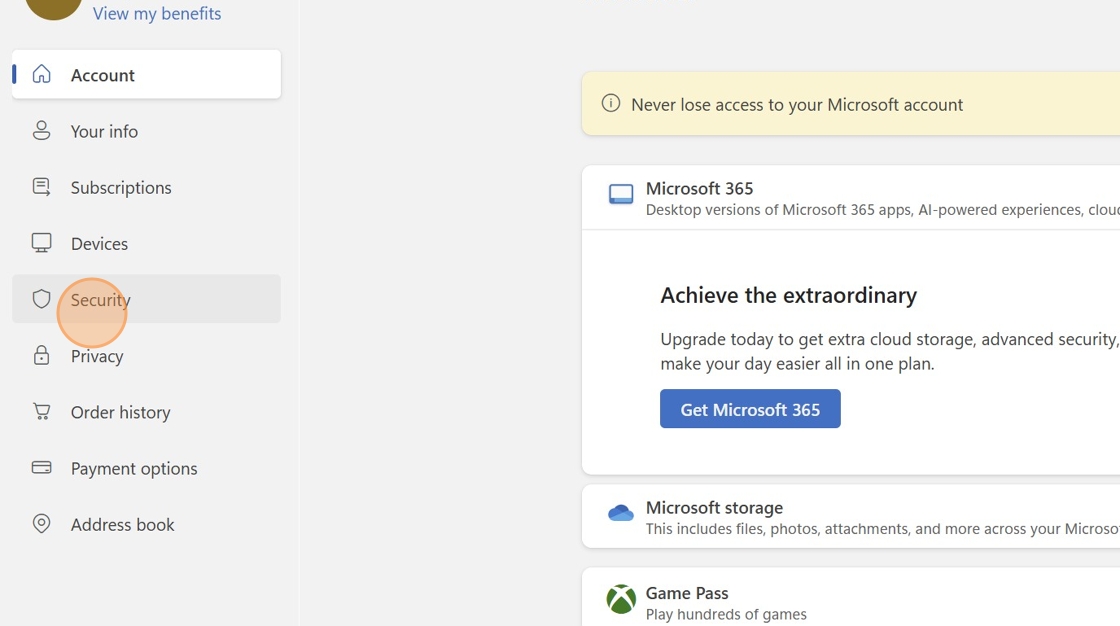
4. Kattintson a „Biztonság” gombra
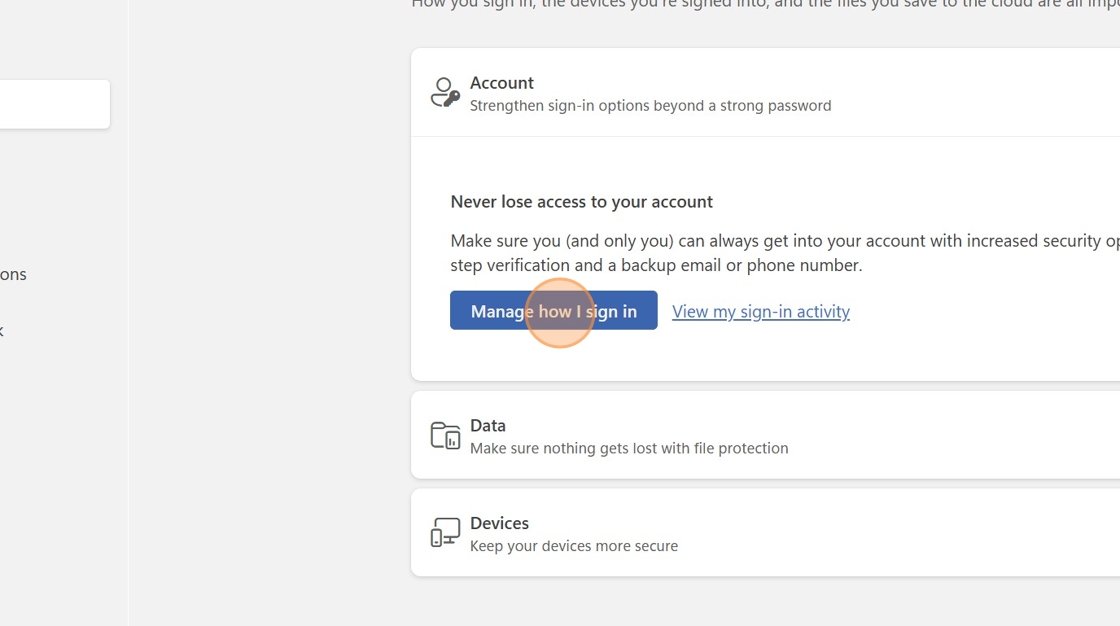
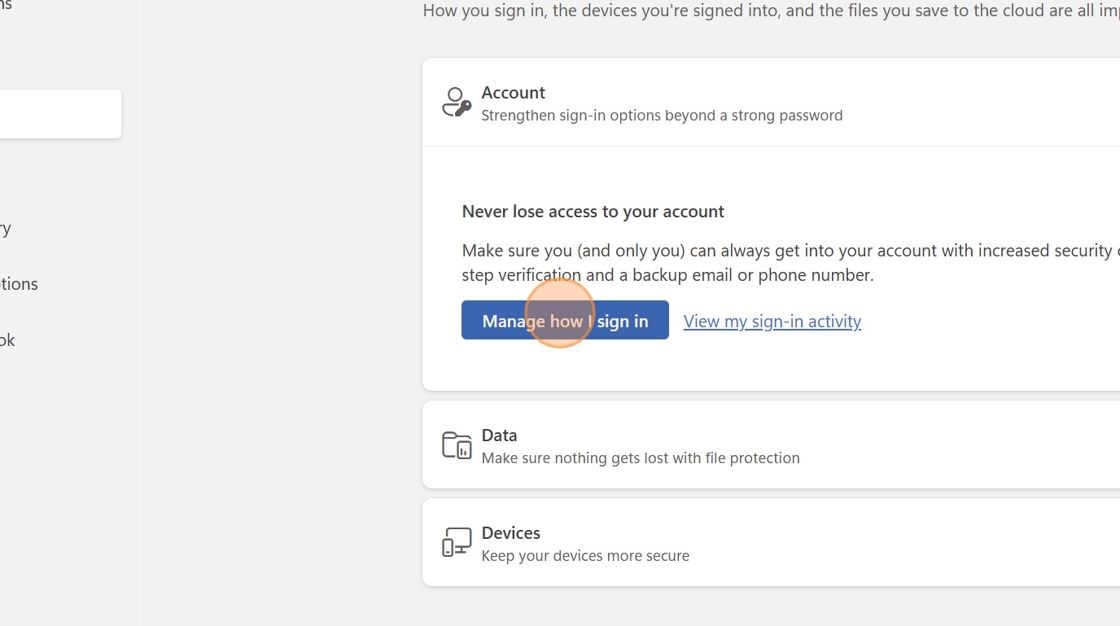
5. Kattintson a „Bejelentkezési mód kezelése” lehetőségre
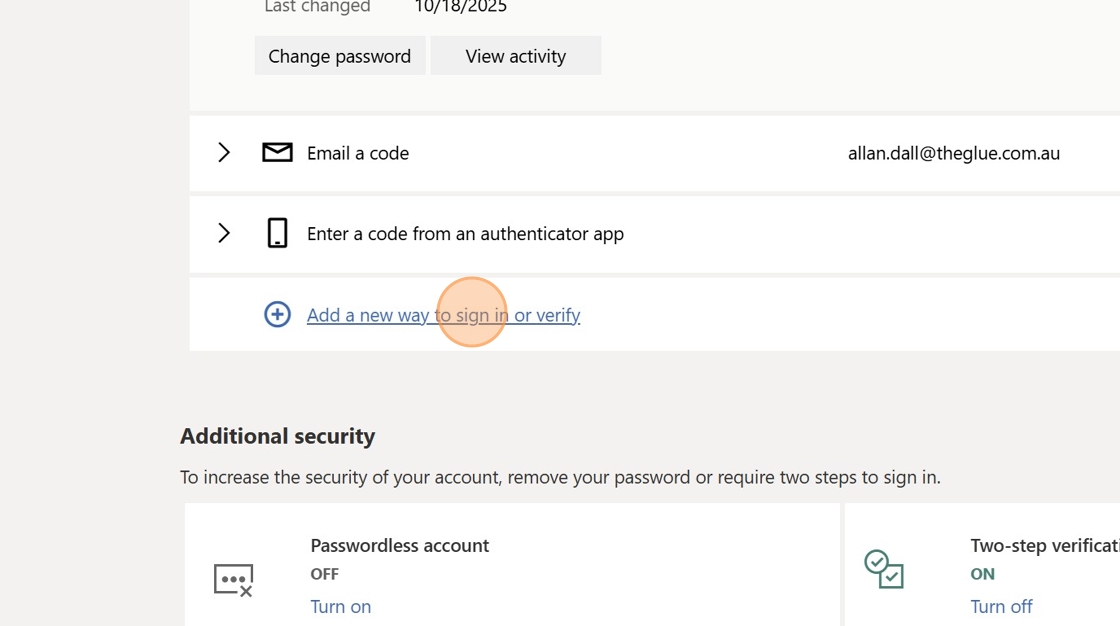
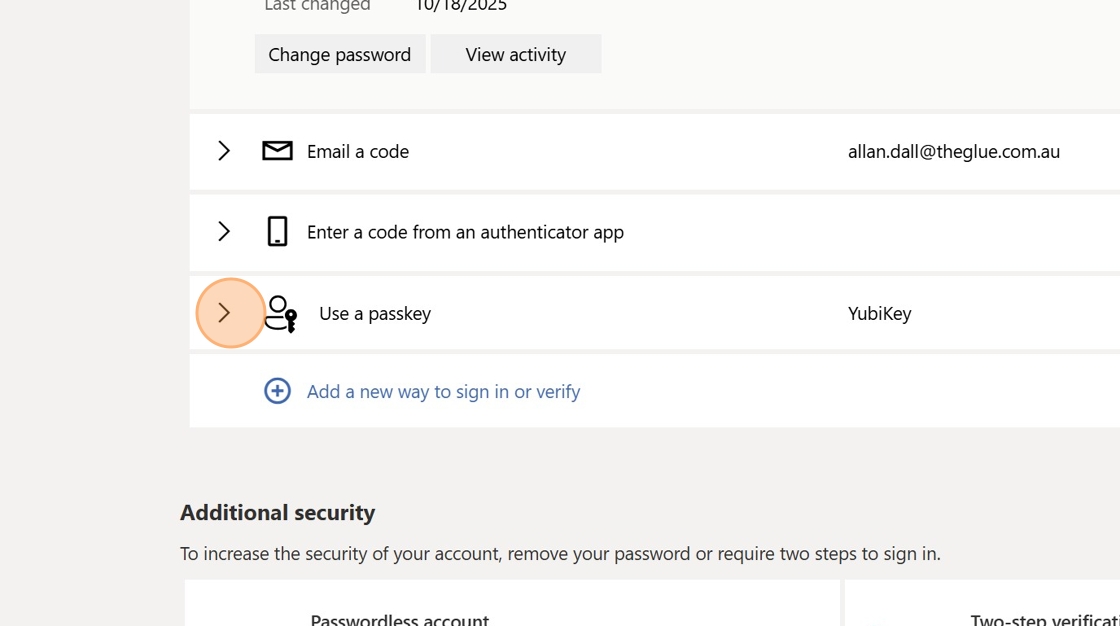
6. Kattintson az „Új bejelentkezési vagy ellenőrzési mód hozzáadása” lehetőségre.
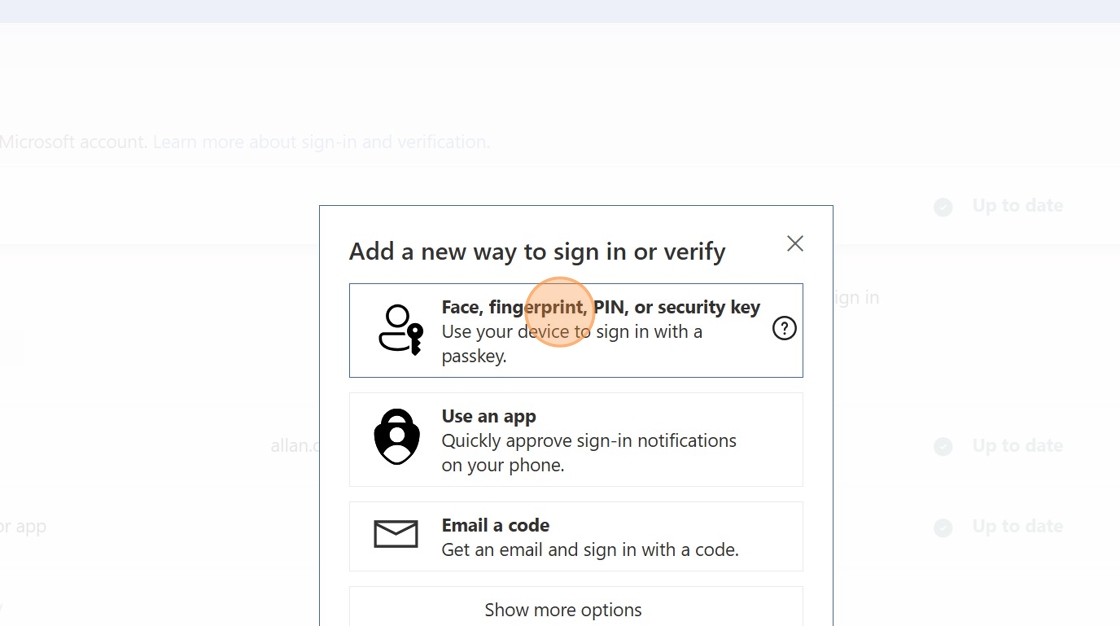
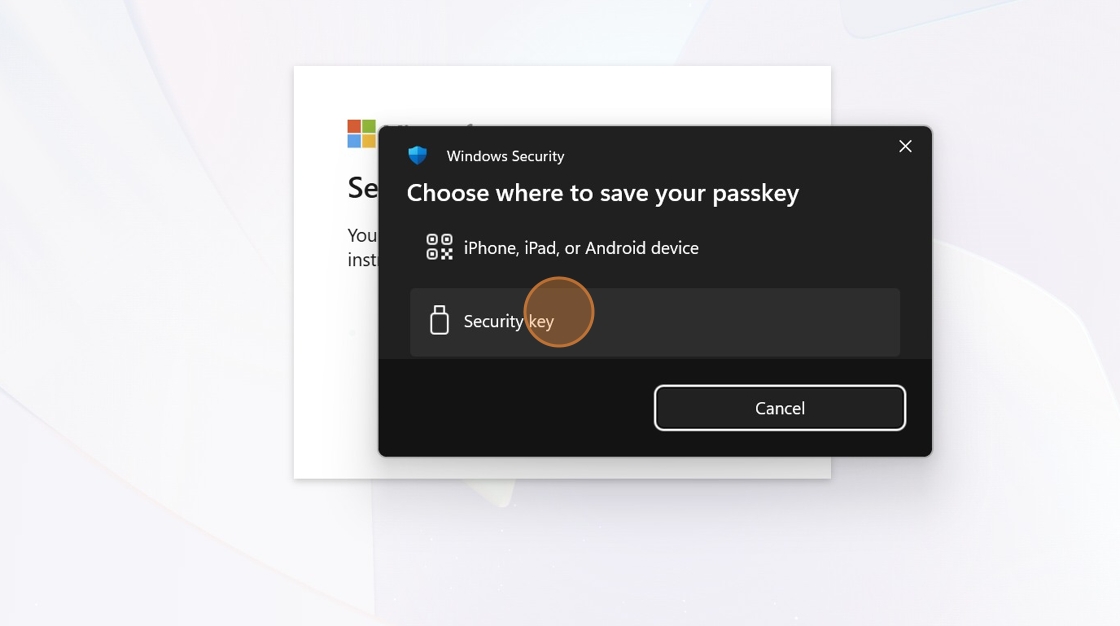
7. Kattintson az Arc, ujjlenyomat, PIN-kód vagy biztonsági kulcs lehetőségre
8. Kattintson a „Biztonsági kulcs” elemre
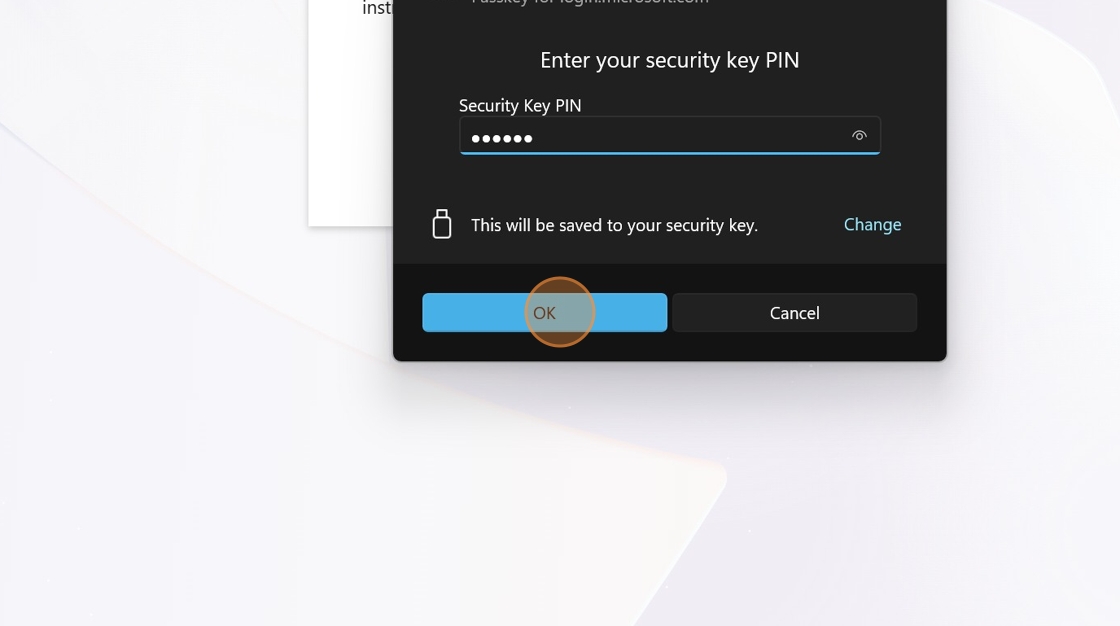
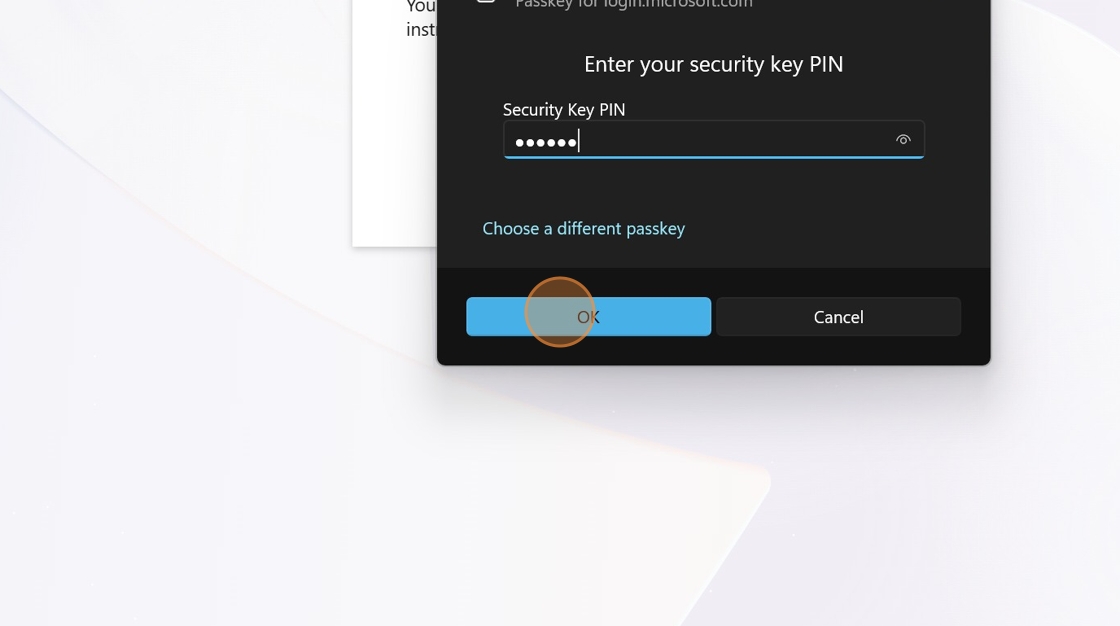
9. Írjon be egy PIN-kódot, majd kattintson az „OK” gombra. Erre a PIN-kódra minden alkalommal szüksége lesz, amikor be szeretne jelentkezni a YubiKey-vel, ezért ügyeljen arra, hogy ne felejtse el.
Tipp: Ha egynél több YubiKey-ed van, nézd meg YubiStyle borítóink választékát. Ezek segítségével megkülönböztetheted a kulcsaidat, és a következő lépésben a névben is használhatod a dizájnt.
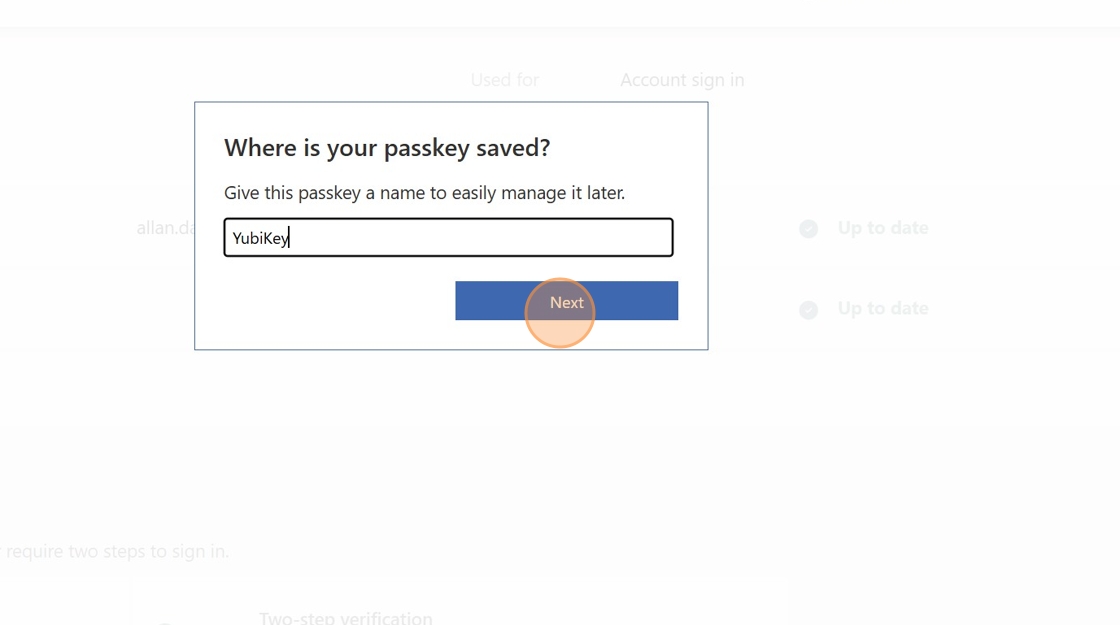
10. Nevezd el YubiKey-nek, hogy emlékezz arra, hogy elmentetted ezt a YubiKey-den. Kattints a "Tovább" gombra.
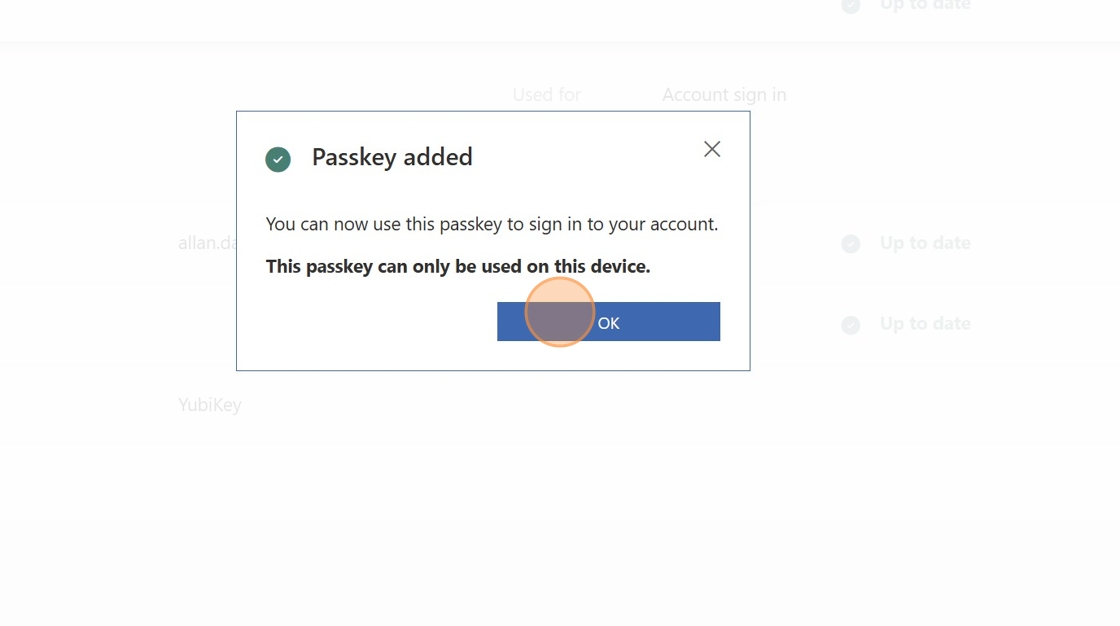
11. Kattintson az „OK” gombra
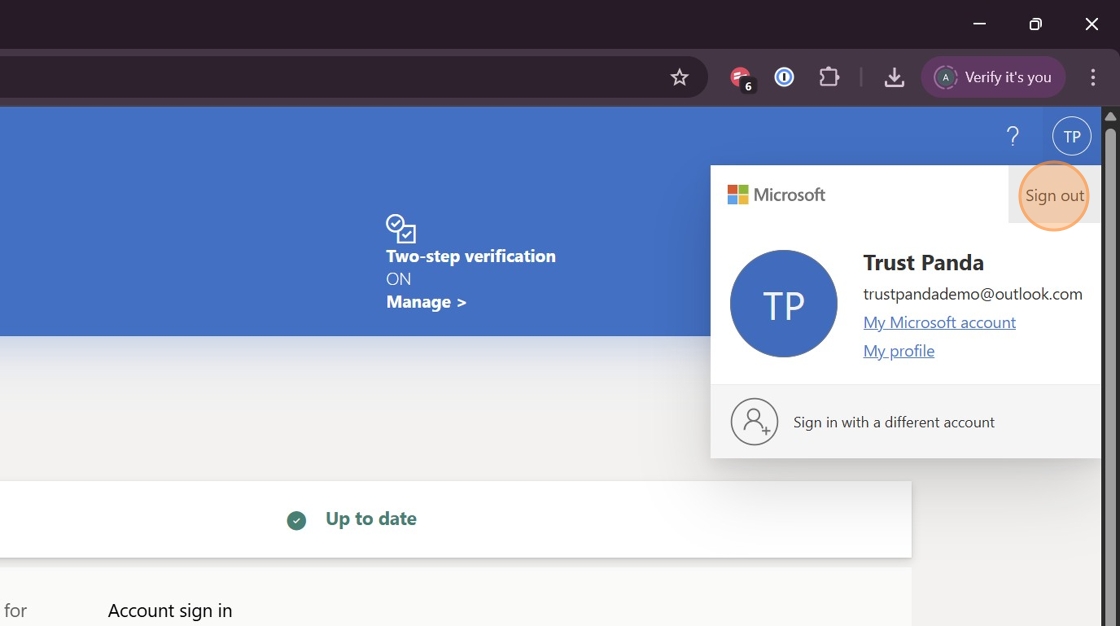
12. Most jelentkezzünk ki, hogy kipróbálhasd az új YubiKey-t a bejelentkezéshez. Kattints a profil ikonra a böngésző jobb felső sarkában.
13. Kattintson a „Kijelentkezés” gombra
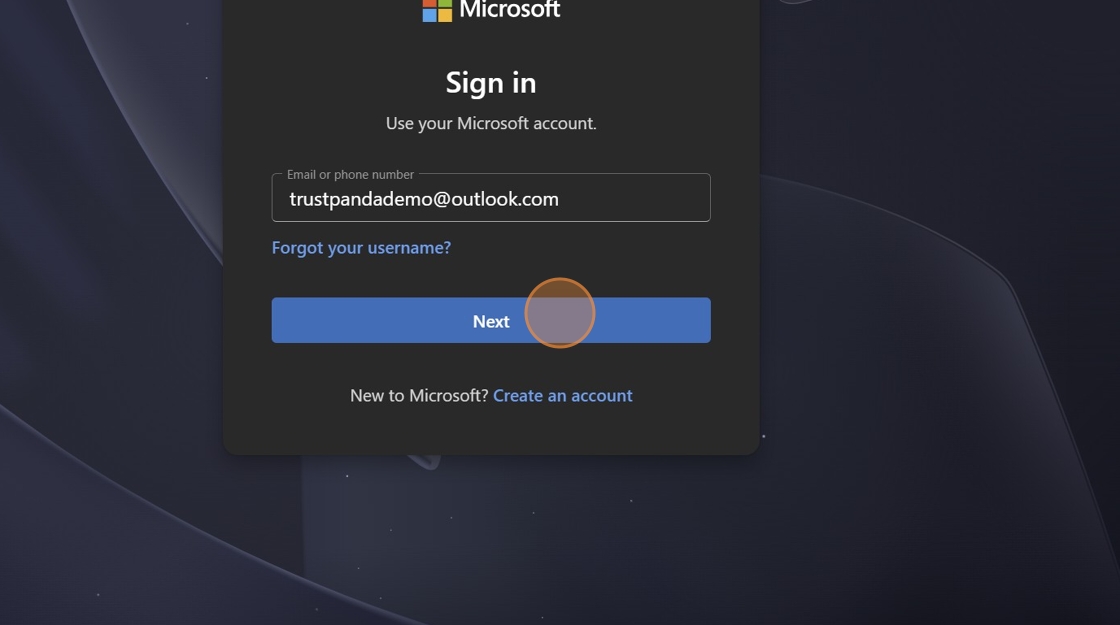
14. Add meg az e-mail címedet, majd kattints a „Tovább” gombra.
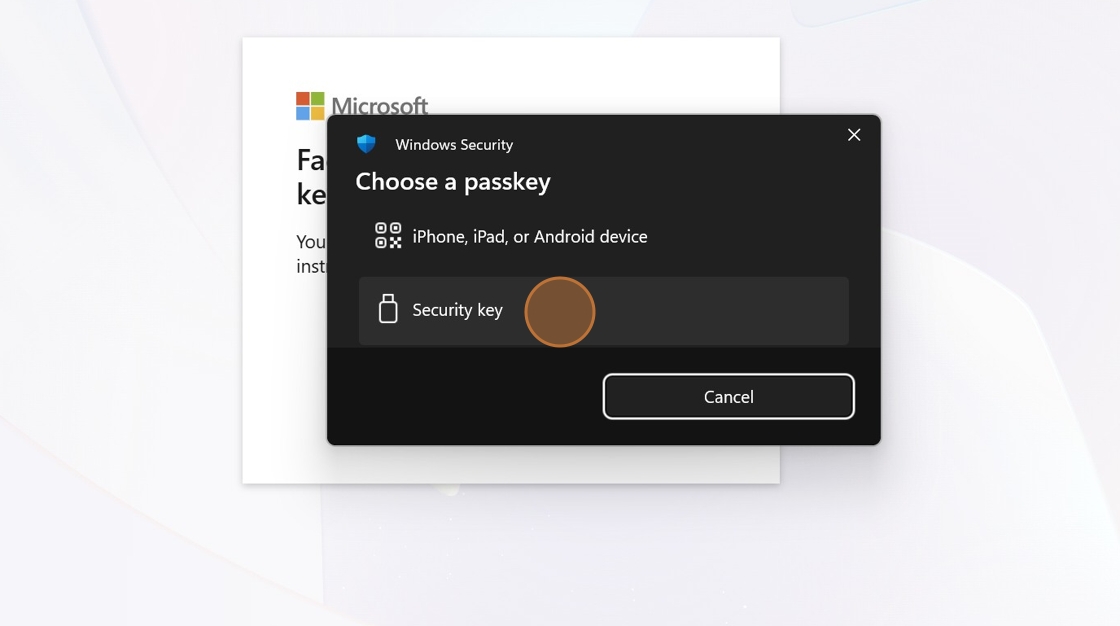
15. A böngésző automatikusan kérni fogja a YubiKey-vel való bejelentkezést. Kattintson a „Biztonsági kulcs” gombra.
16. Írja be a kiválasztott PIN-kódot, majd kattintson az „OK” gombra.
17. Ennyi, készen állsz a YubiKey használatára. Most nézzük át a fiókodhoz hozzáadott YubiKey-t. Kattints a "Biztonság" gombra.
18. Kattintson a „Bejelentkezési mód kezelése” lehetőségre
19. Bontsa ki a „Jelszó használata” részt a kapcsolóval.
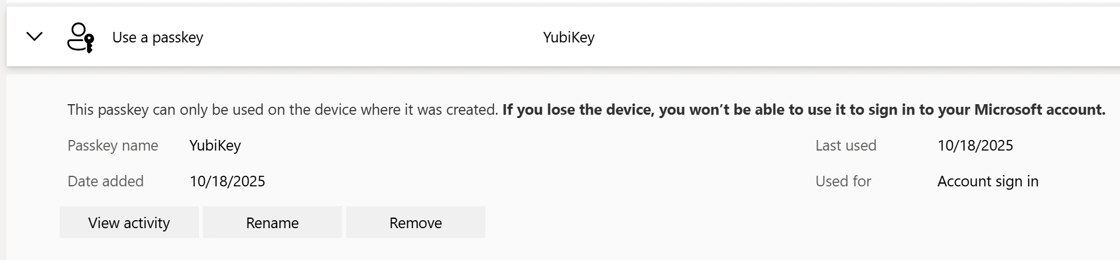
20. Most már láthatja a fiókjában beállított YubiKey-t.